Expanding damages caused by faulty wall ties can be a costly and time-consuming problem. Today, we will discuss how to identify faulty wall ties and how to repair them. We will also give a step-by-step guide on how to replace wall ties in a cost-effective & timely manner. Wall ties are an important part of any building’s structural integrity, so it is important to replace them time as they start to show signs. By following our guide lines you will be able to avoid costly repairs and restore the structural integrity of your building promptly.
1. Identification of faulty wall ties
There are several ways to identify faulty wall ties. The easiest way is to use a tension tester.
A tension tester is a simple piece of equipment that uses a spring to measure the amount of tension on a wire or cable. When a wire or cable is under tension, it stretches. If the wire or cable is faulty, it may stretch more than the average, and the tension tester will show this on the dial.
Another way to identify a faulty wall tie is to use a wire cutter.
A wire cutter is a blade to cut a wire. When you cut a wire, you can see if it has a kink or fault. If the wire has a kink or fault, it can cause the wire tie to fail.
2. Causes of faulty wall ties
Numerous factors can cause wall ties to go bad here are some of them.
– Poor manufacturing quality
– Faulty design and building
– Damaged packaging and placing
– Incorrect installation(lack of experience)
– Poor quality materials
– Lack of quality control
If you find any of these factors in your wall ties, it’s important to get them fixed as soon as possible. If left untreated, faulty wall ties can lead to serious damage to your property and even cause injury.
3. How to identify faulty wall ties
There are a few things that can help identify faulty wall ties.
The first thing to do is look for cracks in the plastic. If there is a crack, the tie may not be strong enough and may start to decay over time.
Another sign that a tie is likely to fail is if the plastic starts to turn yellow or turn brown. This indicates that the plastic is starting to break down and the tie may not be able to support a heavy load.
If you did not find a fault, it’s best to replace it as soon as possible.
4. Fixing faulty wall ties
Fixing faulty wall ties is a simple task that can help you save time and money in the future. Here are four tips to help you out:
1. Check the wall tie’s tension.
Most wall ties are designed to have a certain tension when installed. If the tie is too loose, it will sag and may even become displaced. If the tension is too tight, it can damage the wall tie and cause it to break.
2. Test the tie.
If you’re not sure if the tie is in the right position, you can try to tighten or loosen it slightly to see if it makes a difference. If it does, the tie is probably in the wrong position.
3. Check the installation.
If the tie is installed correctly but it’s still faulty, it may be because of something else on the wall, like a drywall screw that’s in the way. Remove the screw and test the tie again.
4. Replace the tie.
If the tie is still faulty after trying the above steps, it’s time to replace it. There are a variety of wall ties available, so it’s important to find the right one for your needs.
5. Preventing faulty wall ties from occurring
While you’re inspecting your tires for wear and tear, pay close attention to the wall ties. If there are any that have noticeable fraying, crumbling or weak spots, it’s time to replace them.
It’s easy to overlook these ties when you’re inspecting the rest of your ties, but they’re a critical part of your wall tie installation. If they’re not up to par, then your ties may not hold the wall firmly and this could lead to potential damage.
Wall ties are one of the most important parts of a good installation. If they are faulty, the entire installation can be ruined. In this blog post, we will teach you how to identify faulty wall ties. We will also provide a step-by-step guide on how to fix them. Make sure to read through the post before you start fixing them.
Conclusion about Identify Faulty Wall Ties
To identify faulty wall ties, visually inspect the wall for signs of corrosion or rust on the ties. Look for any bulging or cracking in the masonry surrounding the ties, as it could indicate a failure. Check if the wall is leaning or showing signs of movement, which could suggest tie failure. Use a sounding tool, like a hammer, to tap the ties and listen for hollow or loose sounds, indicating a loose or deteriorated tie. Consider consulting a structural engineer or building professional for a thorough assessment if you suspect faulty wall ties.
FAQ about Identify Faulty Wall Ties
Q: What are wall ties?
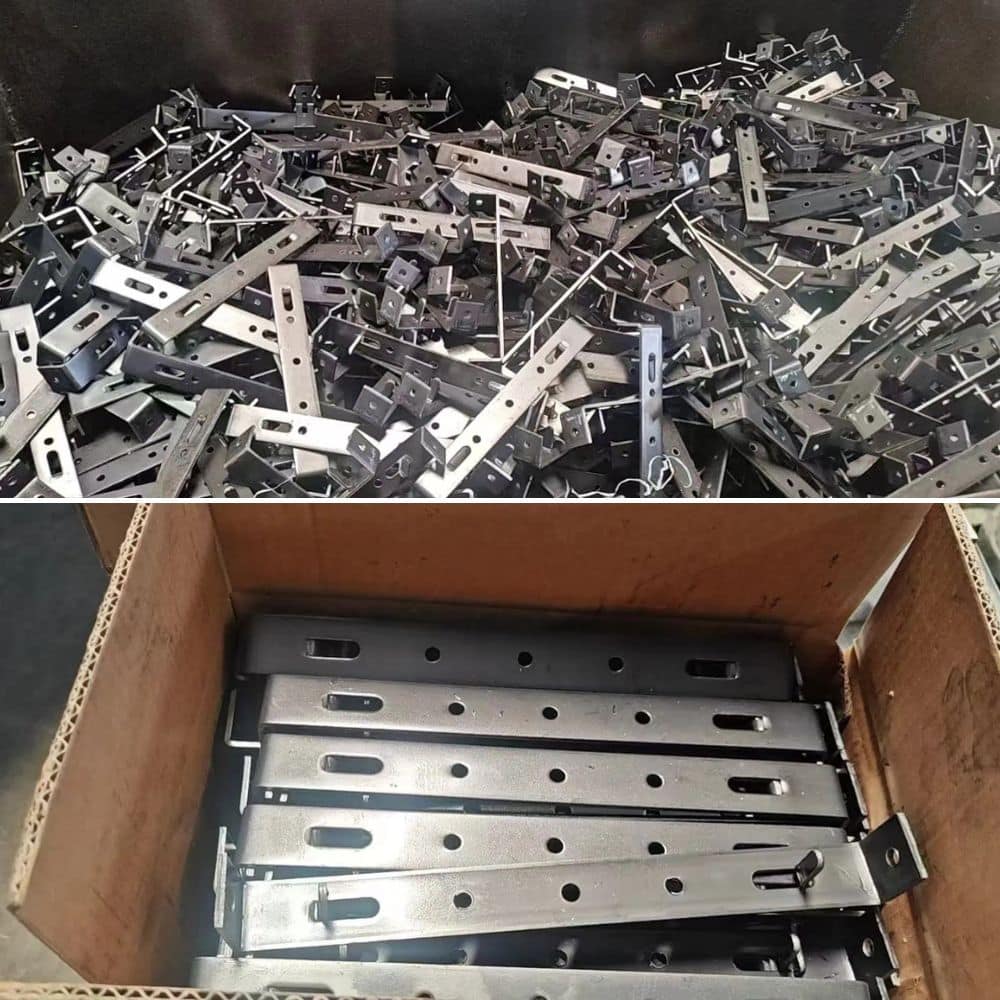
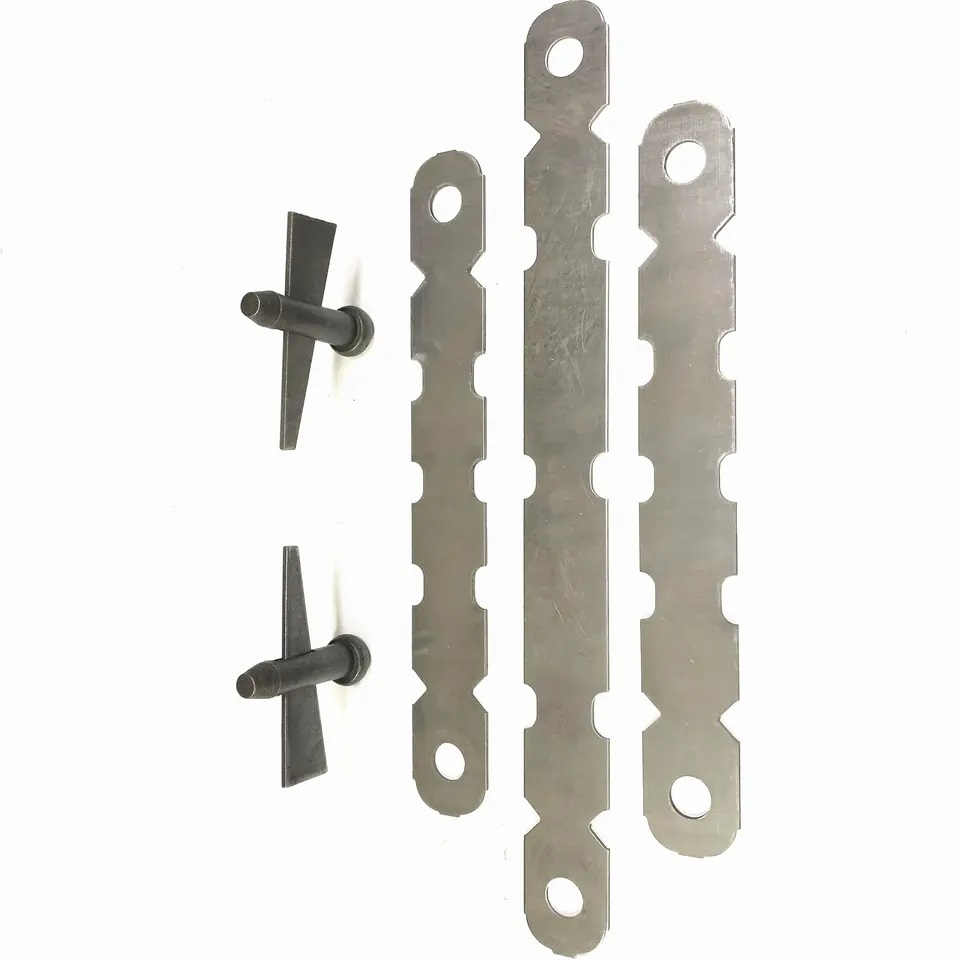
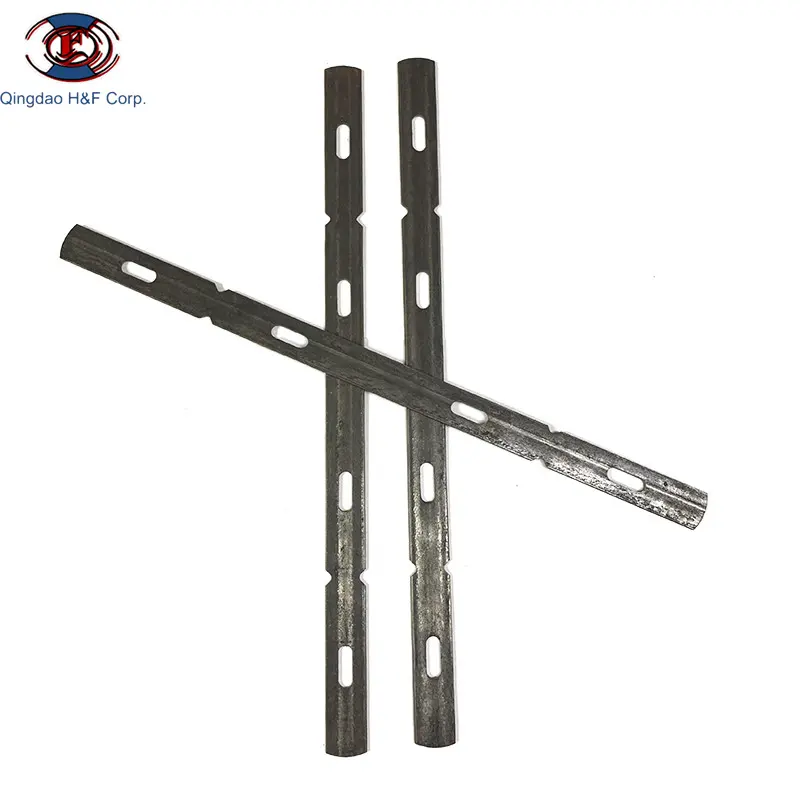
A: Wall ties are metal connectors used to hold the outer and inner leaves of a cavity wall together. They provide structural support and stability to the wall.
Q: How do I know if my wall ties are faulty?
A: A few common signs of faulty wall ties include:
- Bulging or cracking brickwork: If you notice bulges or cracks in the external brickwork, it could be an indication that the wall ties are failing.
- Sagging or uneven walls: Faulty wall ties may cause the walls to sag or appear uneven. This can be observed visually or by using a spirit level.
- Excessive dampness or mold growth: Faulty wall ties can lead to moisture penetrating the wall, resulting in dampness or mold growth on the internal walls.
- Rattling noises: If you hear rattling or scraping sounds when tapping on the walls, it could be a sign of loose or deteriorating wall ties.
Q: Can I visually inspect the wall ties myself?
A: Visual inspection may not be sufficient to identify faulty wall ties. It is recommended to consult a qualified professional, such as a structural engineer or a building surveyor, who can carry out a thorough inspection using appropriate tools and techniques.
Q: What should I do if I suspect faulty wall ties?
A: If you suspect faulty wall ties, it is essential to seek professional advice. Contact a structural engineer or a building surveyor experienced in wall tie inspections. They will assess the situation, conduct a detailed investigation, and recommend appropriate remedial actions if necessary.
Q: Can faulty wall ties be repaired?
A: In some cases, faulty wall ties can be repaired. The exact method of repair will depend on the extent of the damage and the type of wall construction. A qualified professional will be able to provide the most suitable repair solution.
Q: How much does it cost to fix faulty wall ties?
A: The cost of fixing faulty wall ties can vary depending on various factors, such as the extent of the damage, the size of the property, and the chosen repair method. It is advisable to obtain multiple quotes from reputable contractors to get an accurate estimate.