Despite being the most prevalent rigging device, the turnbuckle remains shrouded in mystery for many. This comprehensive guide will equip you with the knowledge and skills to confidently install and utilize turnbuckles in any project.
Five steps to use turnbuckle:
Inspect the Turnbuckle: Before use, thoroughly inspect the turnbuckle for any signs of damage or defects to ensure safety.
Attach the Turnbuckle: Securely attach the turnbuckle to the desired anchor points using appropriate fittings.
Adjust the Length: Rotate the body of the turnbuckle to increase or decrease the length as needed.
Tighten or Loosen: Utilize the turnbuckle’s mechanisms to tighten or loosen the connection until the desired tension is achieved.
Secure the Adjustment: Once the desired tension is attained, secure the turnbuckle in place to prevent accidental loosening.
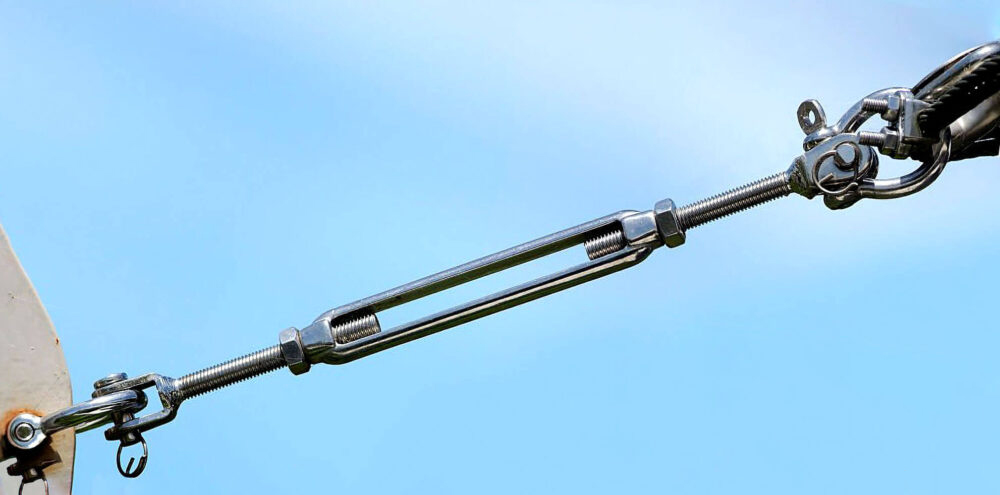
What is a Turnbuckle
A turnbuckle is a versatile device employed across industries for adjusting tension and length in cables, ropes, and wires. Its primary purpose is to facilitate the tightening or loosening of connections to achieve desired levels of tension, making it an indispensable tool in construction, marine, and mechanical applications.
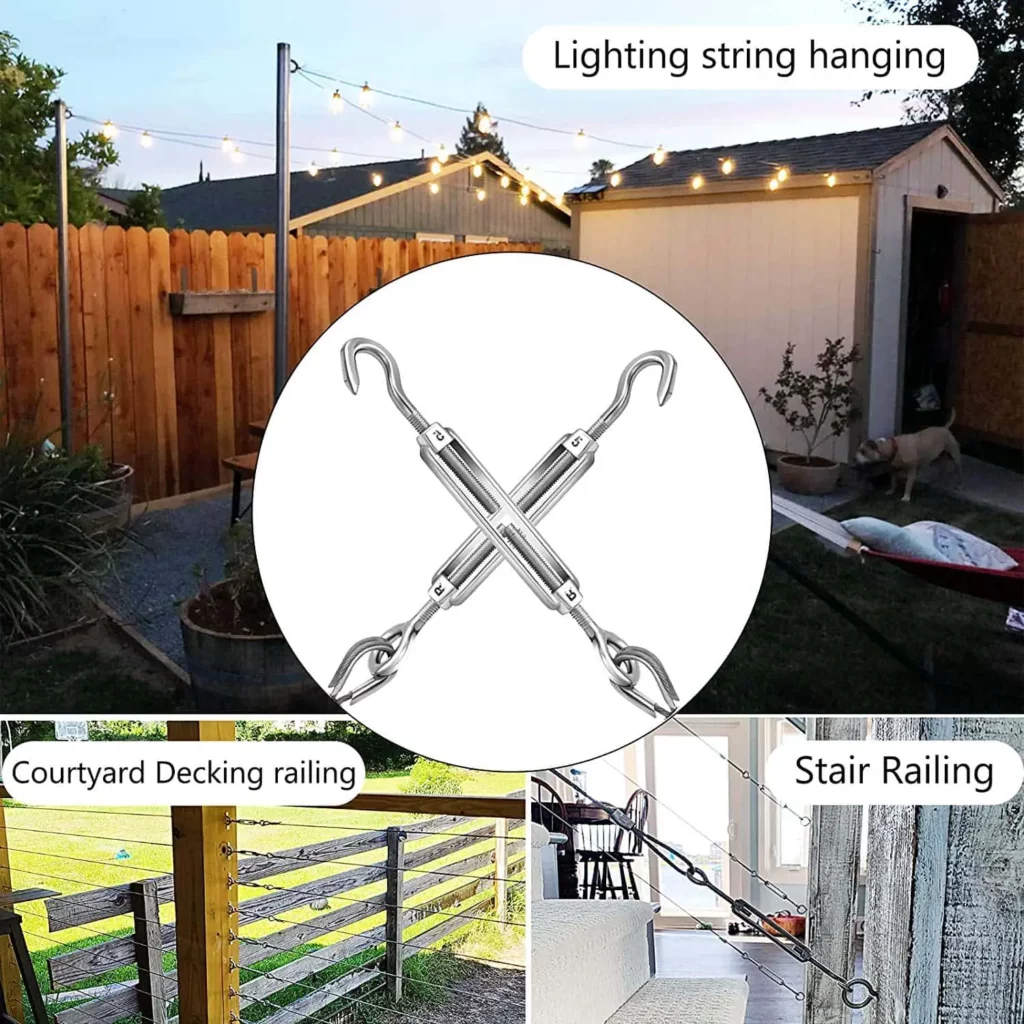
The Types of Turnbuckle
Turnbuckles come in a range of designs tailored to different needs, including:
Closed Body Turnbuckle: Features an enclosed design for added protection and durability.
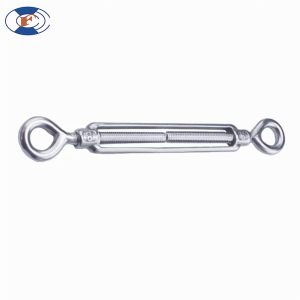
Eye & Eye Turnbuckle: Equipped with eyelets at both ends for connecting to hooks or other fittings.
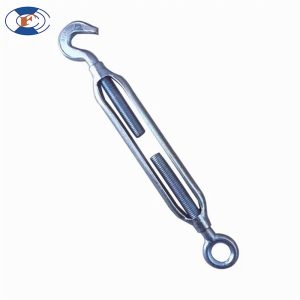
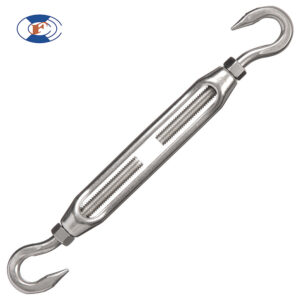
Hook & Eye Turnbuckle: One end features a hook, while the other has an eye for secure attachment.
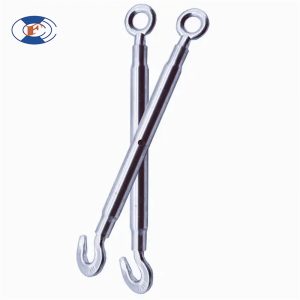
Hook & Hook Turnbuckle: Features hooks on both ends for easy installation and adjustment.
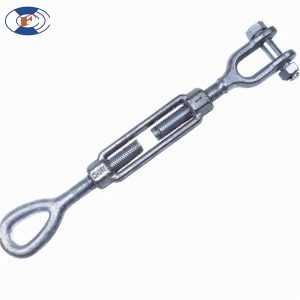
Jaw & Eye Turnbuckle: Combines a jaw fitting on one end with an eye fitting on the other for versatile connections.
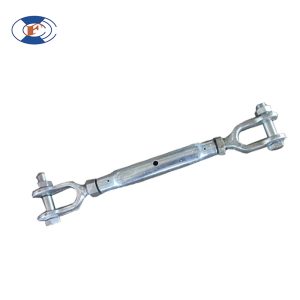
Jaw & Jaw Turnbuckle: Boasts jaw fittings on both ends for robust and secure connections.
How to Use a Turnbuckle
Using a Turnbuckle involves several key steps:
1. Inspect the Turnbuckle: Safety First!
Before you even think about using the turnbuckle, give it a thorough once-over. Look for any signs of damage that could compromise its performance or safety, such as:
Cracks or bends in the body: Even hairline cracks could weaken the turnbuckle and lead to failure under tension.
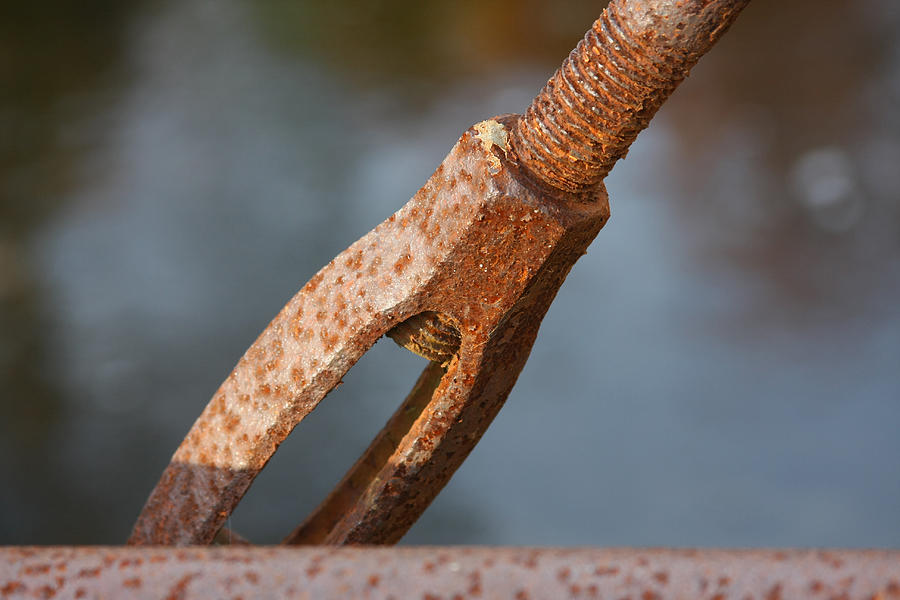
Rust or corrosion: Rust can eat away at the metal, affecting its strength and thread integrity.
Damaged threads: Bent or misaligned threads can prevent the turnbuckle from adjusting smoothly or securely.
Missing parts: Any missing components, like lock nuts or pins, could lead to the turnbuckle coming loose under tension.
If you find any damage, replace the turnbuckle immediately. Remember, safety is always the top priority!
2. Attach the Turnbuckle: Finding the Right Anchor
Now it’s time to connect the turnbuckle to its anchor points. Choose the appropriate fittings depending on your setup:
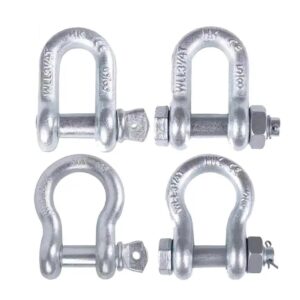
Shackles: Perfect for connecting the turnbuckle to chains or wire ropes with eyes or loops.
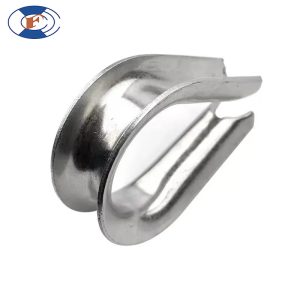
- Thimbles: These protect cables or lines from wear and tear when attached to the turnbuckle’s eye end fittings.
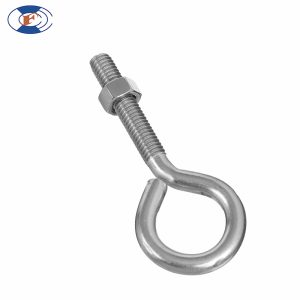
Eye bolts: Offer a permanent anchor point for the turnbuckle’s eye fitting.
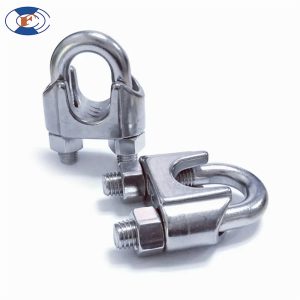
Wire rope clips: These secure wire ropes to the turnbuckle’s hook end fittings.
Make sure the fittings are the right size and type for both the turnbuckle and the anchor points. Secure them tightly using wrenches or pliers, ensuring no wiggle room for unwanted adjustments.
3. Adjust the Length: Finding the Perfect Balance
With the turnbuckle anchored, it’s time to fine-tune its length. Rotate the body of the turnbuckle clockwise to shorten the line and create tension, or counter-clockwise to lengthen the line and release tension. Remember to turn both ends evenly to maintain balanced tension and prevent skewing.
Pro Tip: Mark the starting position of the turnbuckle body on the surrounding structure for easy reference when adjusting future tension.
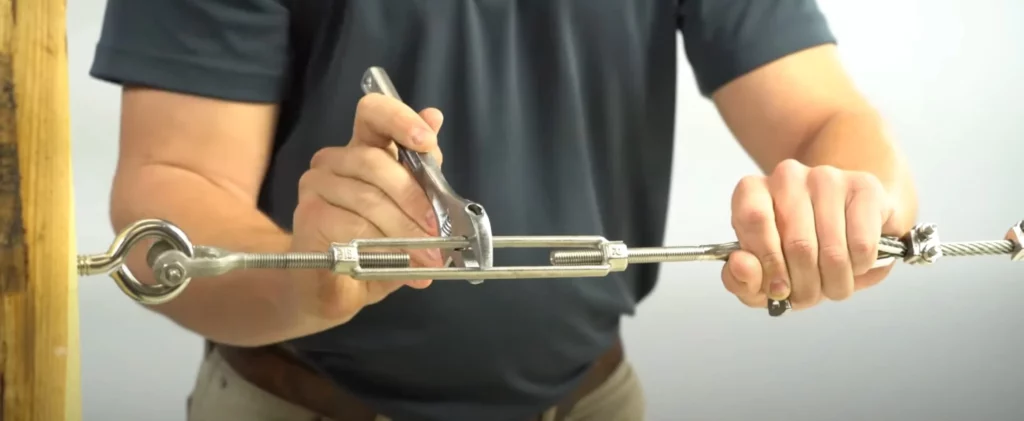
4. Tighten or Loosen: Reaching the Sweet Spot of Tension
Once you’ve achieved the desired length, it’s time to manipulate the turnbuckle’s tension mechanisms. Depending on the type of turnbuckle, you might use wrenches, screwdrivers, or levers to tighten or loosen the threads. Apply gradual pressure, listening for any creaking or groaning that could indicate overtightening.
Feeling the Tension: Experienced DIYers can sometimes gauge tension by the “feel” of the turnbuckle and line. However, for beginners, it’s wise to use a tension gauge (if available) to ensure you’re within the safe range.
5. Secure the Adjustment: A Lasting Harmony
With the perfect tension achieved, it’s crucial to lock everything in place and prevent unwanted changes. Depending on the turnbuckle type, use lock nuts, lock pins, or other securing mechanisms to hold the tension adjustments. Double-check all connections and ensure everything is secure before leaving the area.
Bonus Tip: Take pictures of your setup before and after adjusting the turnbuckle. This can be helpful for future reference or troubleshooting if needed.
By following these detailed steps and prioritizing safety, you can master the art of using a turnbuckle and tackle any tensioning challenge with confidence. Remember, patience, precision, and proper inspection are key ingredients for a successful turnbuckle experience!
Things to Note When Using a Turnbuckle
Regular Inspection: Regularly inspect the turnbuckle for wear and tear, and replace if necessary.
Avoid Overloading: Do not exceed the recommended load capacity of the turnbuckle to prevent damage or failure.
Proper Installation: Ensure proper installation of the turnbuckle and use appropriate fittings for secure connections.
Safety Precautions: Exercise caution when adjusting tension to avoid injury, and utilize appropriate personal protective equipment as needed.
Conclusion about Use Turnbuckle
In conclusion, mastering the art of using a turnbuckle is essential for various projects requiring precise tensioning and adjustment. By understanding its functionality, types, and proper usage, you can leverage turnbuckles effectively for safe and successful project outcomes.
FAQS about Use Turnbuckle
Q1: How do I determine the right size of turnbuckle for my project?
A1: The size of the turnbuckle depends on factors such as the intended load and application. Consult with a professional or refer to load capacity charts provided by manufacturers to select the appropriate size.
Q2: Can I use a turnbuckle in outdoor applications exposed to harsh weather conditions?
A2: Yes, many turnbuckles are designed for outdoor use and are constructed from materials such as stainless steel to resist corrosion and withstand harsh weather conditions.
Q3: What is the recommended maintenance schedule for turnbuckles?
A3: Regularly inspect turnbuckles for signs of wear and tear, and perform maintenance as needed. Lubricate moving parts and replace worn components to ensure optimal performance.
Q4: Can turnbuckles be used in overhead lifting applications?
A4: No, turnbuckles are not designed for overhead lifting applications. Use appropriate lifting equipment such as hoists and cranes for such purposes.
Q5: Are there any specific safety measures to consider when using turnbuckles in marine environments?
A5: When using turnbuckles in marine environments, ensure they are made from corrosion-resistant materials such as stainless steel. Regularly inspect for corrosion and replace as needed to prevent failure.
Q6: Can turnbuckles be reused in different projects?
A6: Yes, turnbuckles can be reused in different projects as long as they are in good condition and meet the requirements of the new application.
Q7: What is the difference between a closed body turnbuckle and an open body turnbuckle?
A7: Closed body turnbuckles feature an enclosed design for added protection, while open body turnbuckles have a more exposed construction.
Q8: How do I calculate the required tension for my application?
A8: The required tension depends on factors such as the load and application. Consult with a professional engineer or refer to industry standards and guidelines for proper tension calculations.
Q9: Are there any alternatives to turnbuckles for tensioning applications?
A9: Yes, alternatives to turnbuckles include tensioning devices such as clevises, rigging screws, and cable tensioners.
Q10: Can turnbuckles be used in combination with other hardware for complex installations?
A10: Yes, turnbuckles can be used in conjunction with other hardware such as shackles, eye bolts, and swivel fittings for complex installations requiring precise tensioning.